Episode Rankings
- #1 Fan Favorite
 0.0/10(0 votes)
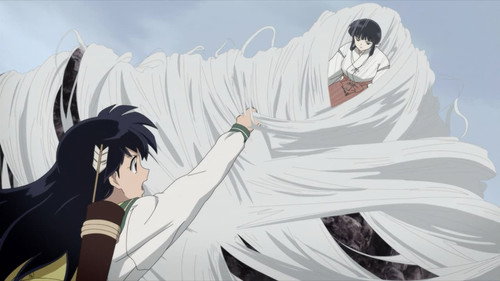
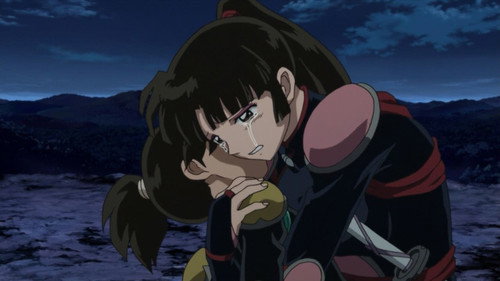
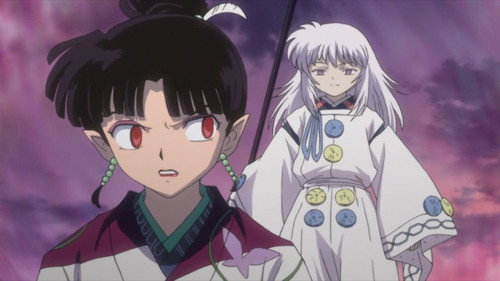
#2 - Kagura's Wind
S2:E2Director:Akira TobaWriter:UnknownBe the first to start the conversation for this episode
Director:Akira TobaWriter:Unknown 0.0/10(0 votes)
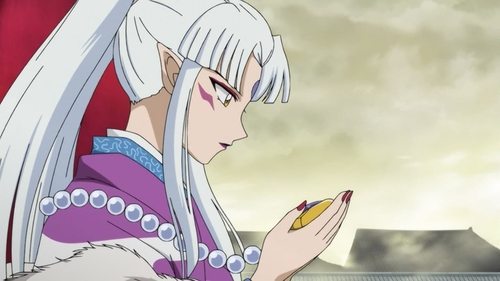
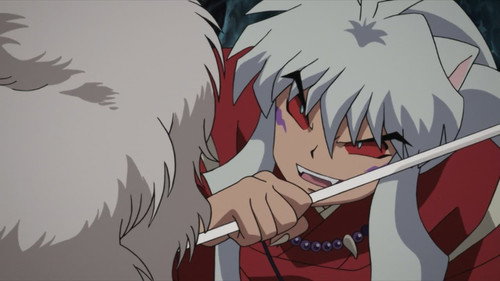
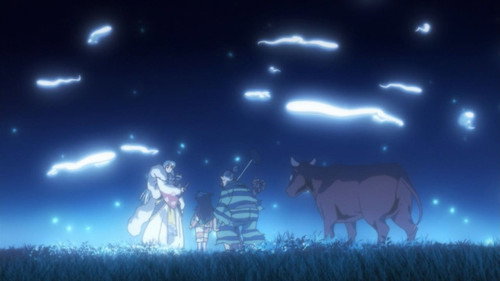
#8 - Among the Twinkling Stars
S2:E8Director:Akira TobaWriter:UnknownBe the first to start the conversation for this episode
Director:Akira TobaWriter:Unknown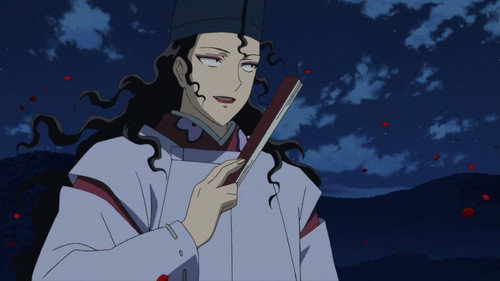 0.0/10(0 votes)
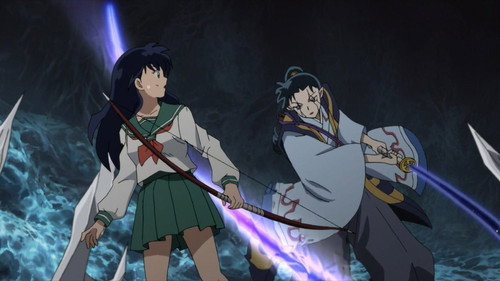
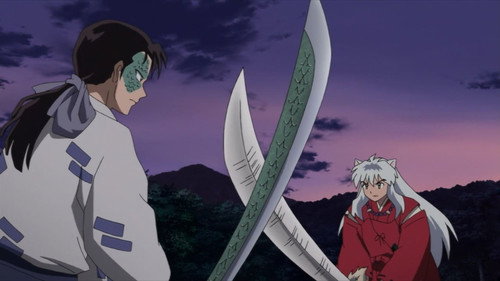
#10 - Flowers Drenched in Sadness
S2:E10Director:Noriaki SaitoWriter:UnknownBe the first to start the conversation for this episode
Director:Noriaki SaitoWriter:Unknown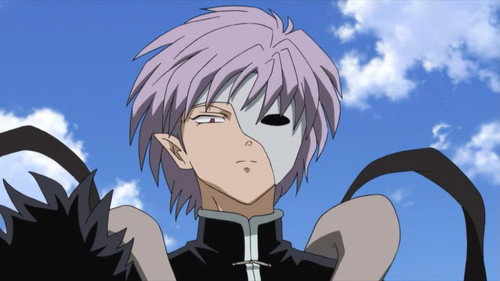 0.0/10(0 votes)
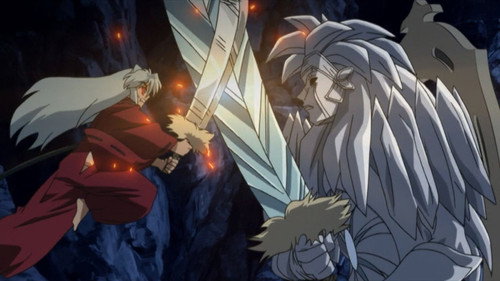
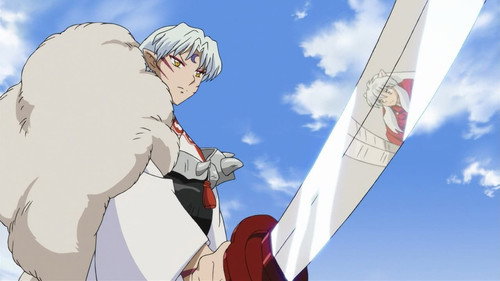
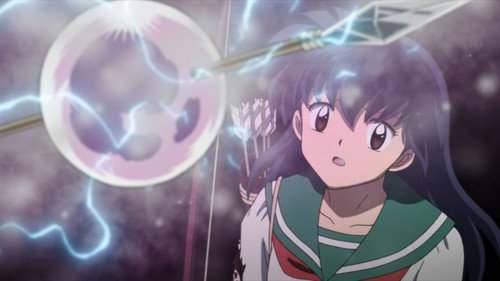
#13 - A Complete Meido
S2:E13Director:Akira TobaWriter:UnknownBe the first to start the conversation for this episode
Director:Akira TobaWriter:Unknown 0.0/10(0 votes)
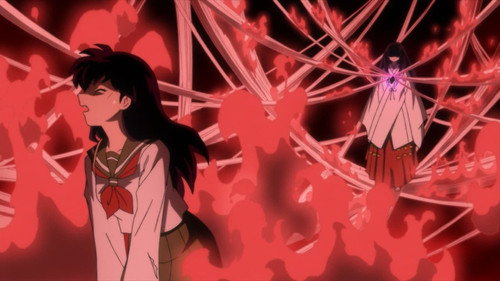
#17 - Magatsuhi's Evil Will
S2:E17Director:Akira TobaWriter:UnknownBe the first to start the conversation for this episode
Director:Akira TobaWriter:Unknown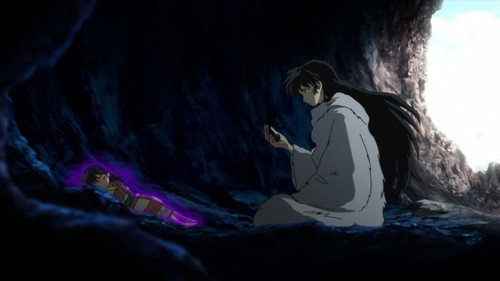 0.0/10(0 votes)
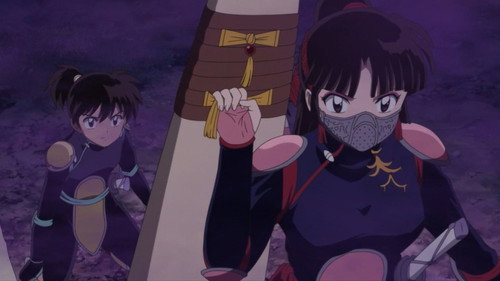
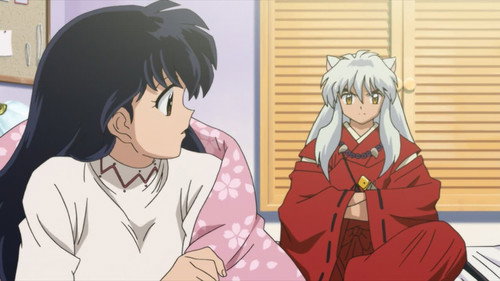
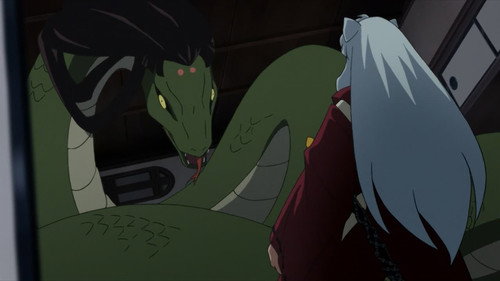
#21 - Inside Naraku
S2:E21Director:Akira TobaWriter:UnknownBe the first to start the conversation for this episode
Director:Akira TobaWriter:Unknown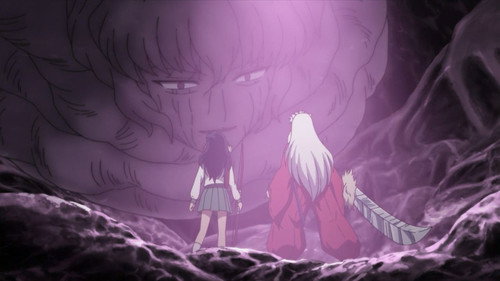 0.0/10(0 votes)
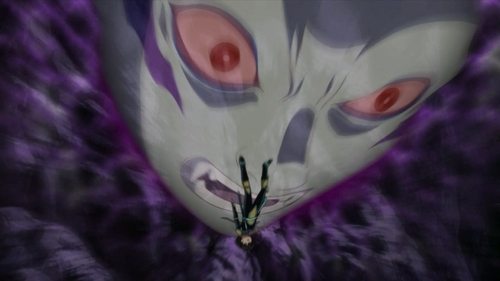
#23 - Naraku: The Trap of Light
S2:E23Director:Akira TobaWriter:UnknownBe the first to start the conversation for this episode
Director:Akira TobaWriter:Unknown
The 20 BEST Episodes of InuYasha
READ